DIGITAL PHOTOGRAPHY AND IMAGING - Week 4
WEEK 4 (07 / 05 / 2020 )
Lectures :
Match lighting, Adjustment layers and Filters.
- At the bottom is a row of icons, and in the middle, is a half-shaded circle for Create new fill or adjustment layer.
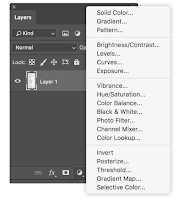
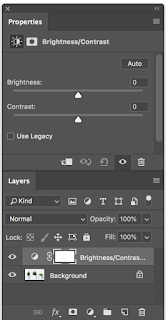
- Adjust the Opacity and Blend Modes just like regular layers to get even more from adjustment layers.
- we can reveal the areas we want to change and hide the areas we don’t want to affect. When you open an adjustment layer, it comes with a mask.
Practical :
Exercise 4
- Follow the demo video and try the Displacement Map Exercise.
part 1
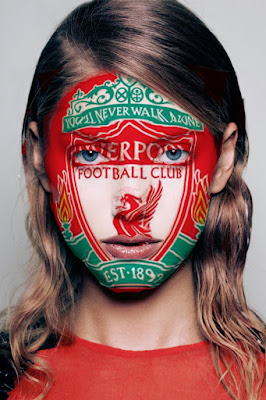
part 2
Tutorial :
Exercise
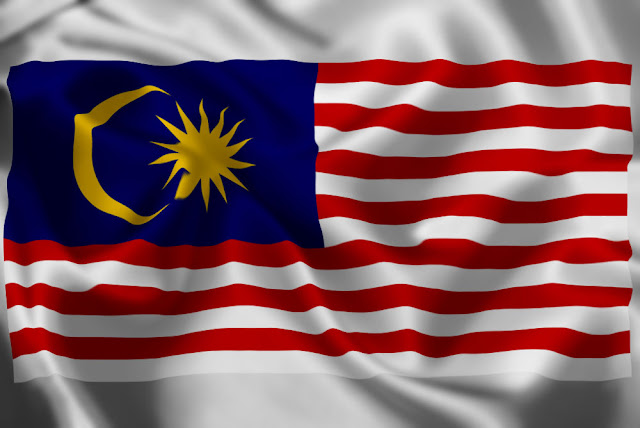
- Download all of the design elements from this link Google drive.
- Trace and crop the images using the Pen tool.
- Create A4 size portrait on Photoshop.
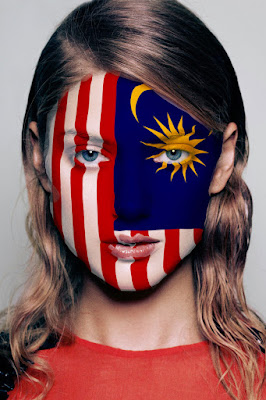
- Use blending modes to create double exposure effects.
- Create 3 different composition and insert your own photo in each composition.
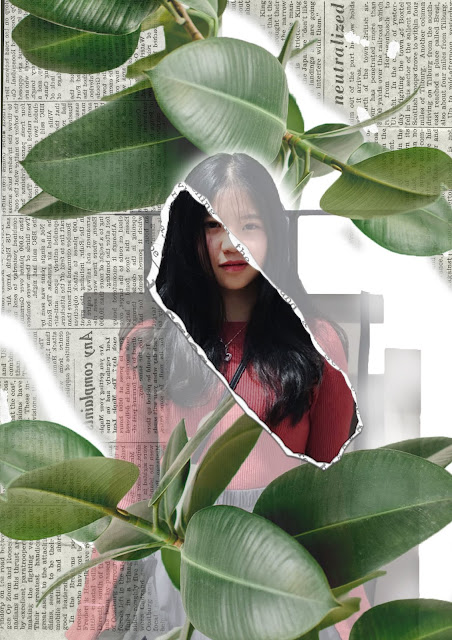
fig. 1
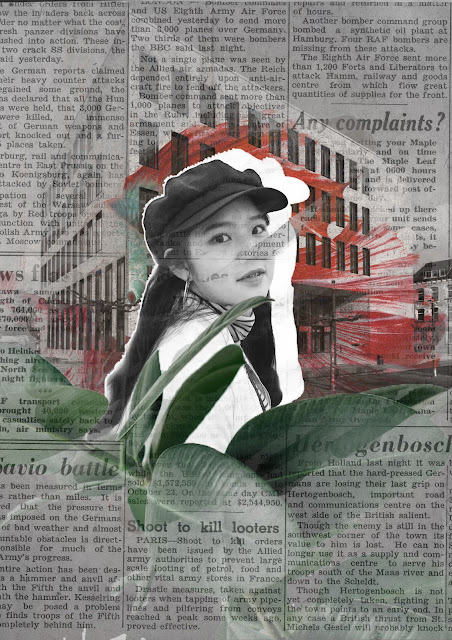
fig. 2
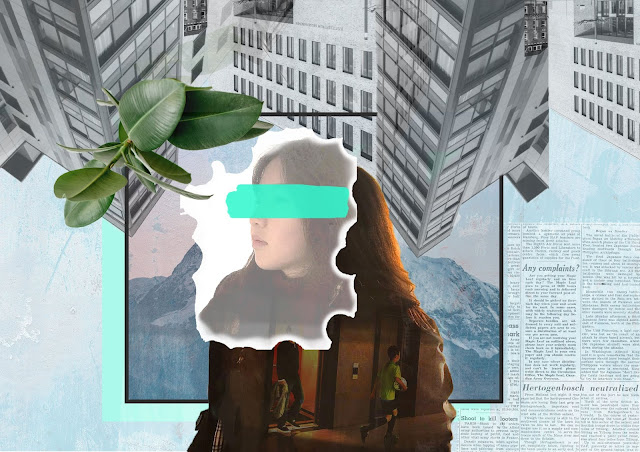
fig. 3


Comments
Post a Comment